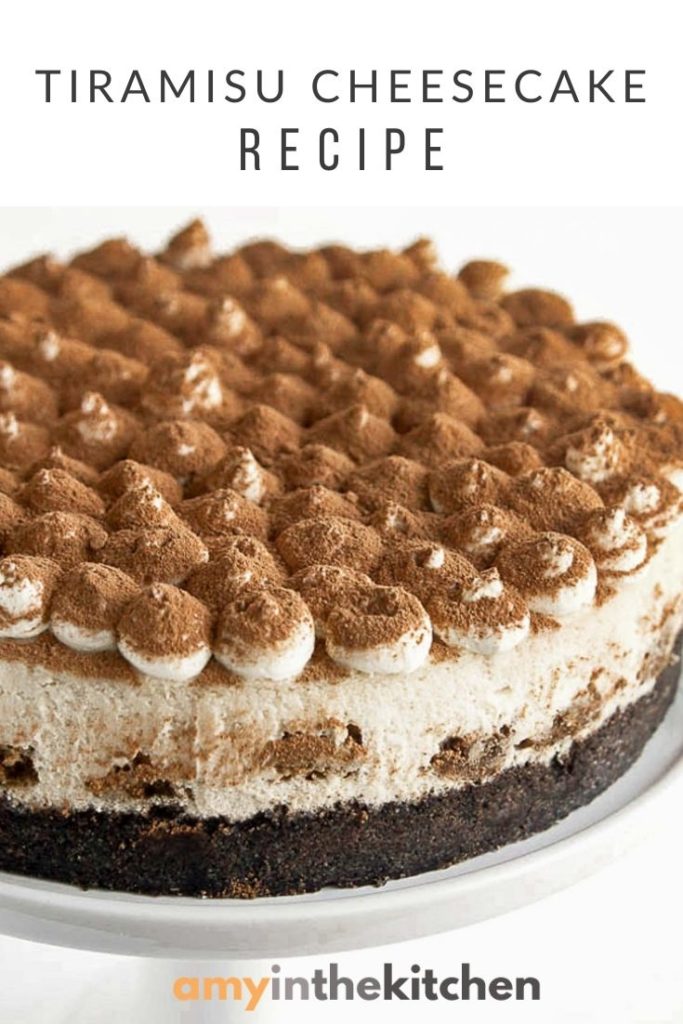
This Tiramisu Cheesecake recipe has a creamy coffee flavored filling with a white chocolate whipped topping and a dusting of cocoa powder. Cheesecake is the perfect dessert for holiday parties.

Italian tiramisu is a classic dessert recipe that is loved by many. Especially during the holidays. Our recipe takes the flavors of tiramisu and transforms them into a rich and creamy cheesecake that is simple to make.
Plan to make this cheesecake 1-2 days in advance as it needs a minimum of 6 hours to set properly before serving. A water bath is recommended to make sure the cheesecake bakes evenly and the outside edges do not over bake.
How to make tiramisu cheesecake
Here's a breakdown of the steps needed to make the best tiramisu cheesecake!
- Make the crust: Process the Oreos, cream center included, and the espresso powder until they are a fine consistency. Add melted butter to combine and press into the spring-form pan. Bake at 350°F for 10 minutes and set aside.
- Prepare the water bath: Lower the oven temperature to 320°F. Place a large roasting pan in the oven on the middle rack. Pour hot water into the pan, making sure it is about 1" in depth. Close the oven door.
- Make the filling: Bring the cold ingredients to room temperature before mixing for a smooth filling. Use a stand or electric mixer on LOW speed to mix the ingredients, making sure not to over-mix. (Make sure to reserve 6 tablespoons of espresso for the next step.) Pour half of the cheesecake filling into the spring-form pan.
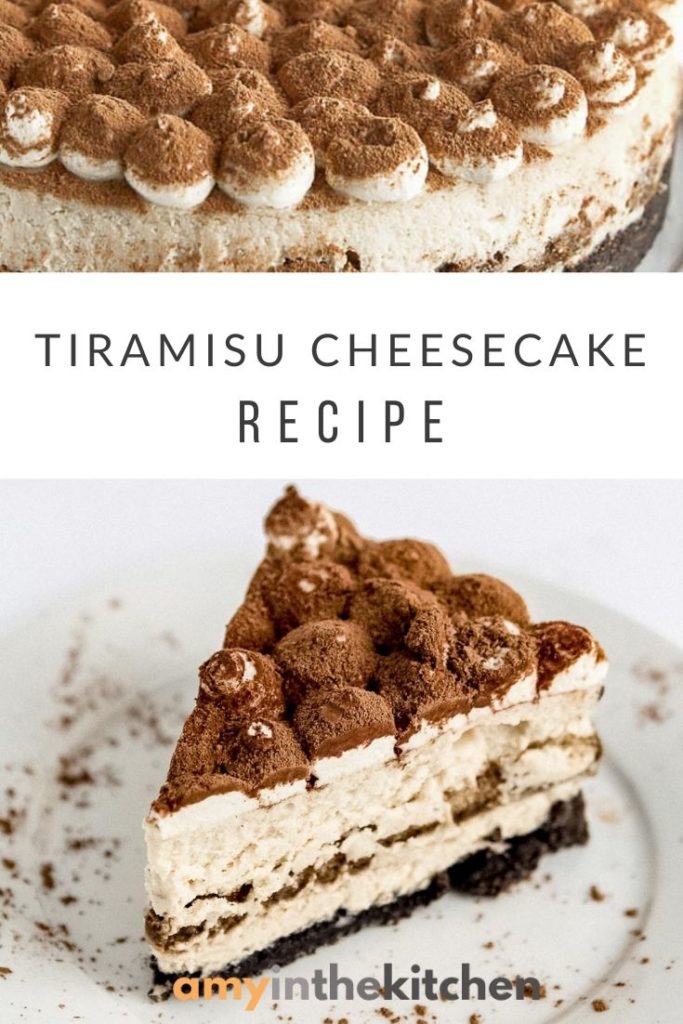
- Layer the filling: Dip the lady fingers in the remaining espresso and arrange them in a single layer over the filling. Carefully pour the remaining cheesecake filling over the lady fingers and smooth the top with an off-set spatula.
- Bake: Insert the spring-form pan into a 10" cake pan and place the cake pan into the water bath.(Water level should cover half the depth of the cake pan. Add water if needed.) Bake for 1 hour at 320°F.
- Cool: Turn the oven off and let the cheesecake cool in the oven for 1 hour with oven door cracked. Remove the cheesecake from the oven, run a knife around the edge of pan and let the it cool completely on a heat-safe counter top.
- Chill: Place the cheesecake, uncovered in the refrigerator overnight or a minimum of 6 hours to set. (Do not remove the spring-form pan.)
- To serve: Before you are ready to serve make the whipped topping and decorate the top of the cheesecake. Dust with cocoa powder and serve.

Tips for success
Don't over mix the filling when mixing. Air incorporated into the batter will result in cracks on top of the cheesecake.
The center of the cheesecake should be jiggly after baking. As it cools, the center will continue to bake and firm up in the fridge.
A water bath is recommended for the best results. The steam from the water keeps the oven moist and the warm water surrounding the pan bakes the cheesecake evenly from the outside to the center.
Make the water bath leakproof by placing the 9" spring-form pan into a slightly larger 10" cake pan before inserting it into the roasting pan. The cake pan will form a barrier that will prevent water getting into the cheesecake's crust.
Check out our tutorial for step by step instructions on How to Create a Leak-Proof Water Bath for Cheesecakes.
How to store tiramisu cheesecake
- To Store: Keep leftovers covered in the fridge for up to 5 days.
- To Freeze: Place the cheesecake in the freezer, without topping, until frozen solid. Wrap with plastic wrap and a layer of foil. Keep frozen for up to 3 months. When ready to serve, allow to thaw in the fridge overnight and decorate with the whipped topping and cocoa powder.
5 must try cheesecake recipes
Do you love cheesecake as much as we do? Here are 5 easy cheesecakes to try for your next party!
Tiramisu Cheesecake
Ingredients
Crust
- 24 Oreos including the cream center
- 1 teaspoon instant espresso powder
- 6 tablespoons unsalted butter melted
Cheesecake Filling
- 32 oz. cream cheese room temperature
- 1 cup granulated sugar
- 2 tablespoons unsalted butter room temperature
- 2 large eggs room temperature
- 2 teaspoons vanilla extract
- ¼ cup flour
- 12 lady finger biscuits
- 1.5 Cups prepared espresso or very strong coffee Separate 6 tablespoons to use in the filling, the rest will be used to dip lady fingers
Whipped Topping
- 8 oz. heavy whipping cream
- 4 oz. cream cheese room temperature
- ½ cup milk
- 1 packet white chocolate instant pudding mix or vanilla flavored
- ¼ cup cocoa powder
Instructions
- Preheat oven to 350°F and line a 9" spring-form pan with parchment paper.
- Make the crust: Place the Oreos and instant espresso powder into a food processor and pulse until a fine consistency. Pour in the melted butter and pulse until fully combined. Press the mixture into the bottom of the spring-form pan making sure it is compact and bake for 10 minutes. Remove and set aside to cool while you make the filling.
- Prepare the water bath: Turn the oven down to 320°F. Place a large roasting pan in the oven on the middle rack. Pour hot water into the pan, making sure it is about 1" in depth. Close the oven door.
- Make the filling: Using a stand or electric mixer, beat the cream cheese, butter and sugar on low speed until smooth. Scrape down the sides a few times. Add eggs one at a time making sure they are fully incorporated after each addition. Add the vanilla extract, 6 tablespoons of prepared espresso and flour, scraping down the sides of the bowl as needed to make sure everything is well combined. Pour half of the cheesecake filling into the spring-form pan.
- Layer the filling: Dip the lady fingers in the remaining espresso and arrange them in a single layer over the filling. Carefully pour the remaining cheesecake filling over the lady fingers and smooth the top with an off-set spatula.
- Bake: Insert the spring-form pan into a 10" cake pan and place the cake pan into the water bath. (Water level should cover half the depth of the cake pan. Add water if needed.) Bake for 1 hour.
- Cool: Turn the oven off and let the cheesecake cool in the oven for 1 hour with oven door cracked. Remove the cheesecake from the oven, run a knife around the edge of pan and let the it cool completely on a heat-safe counter top.
- Chill: Place the cheesecake, uncovered in the refrigerator overnight or a minimum of 6 hours to set. (Do not remove the spring-form pan.)
- Make the whipped topping: Beat the heavy whipping cream until it forms stiff peaks. In a separate bowl, beat the cream cheese, milk and instant pudding until completely smooth. Fold the whipped cream into the cream cheese mixture until it is fully incorporated.
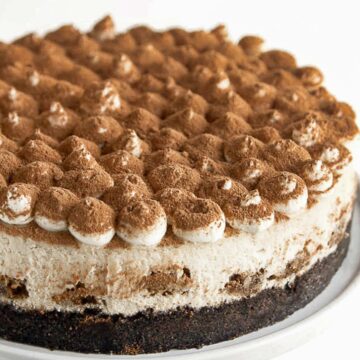
- Assemble: Remove the spring-form pan and place the cheesecake on a serving platter. Place the whipped topping mixture into a piping bag with a large tip, I used Wilton 2A, and then decorate the top of the cheesecake by piping large dots. Dust the top of the decorated cheesecake with cocoa powder and keep chilled until ready to serve.
Notes
- To Store: Keep leftovers covered in the fridge for up to 5 days.
- To Freeze: Place the cheesecake in the freezer, without topping, until frozen solid. Wrap with plastic wrap and a layer of foil. Keep frozen for up to 3 months. When ready to serve, allow to thaw in the fridge overnight and decorate with the whipped topping and cocoa powder.
This recipe was originally posted in January 2016 and updated in July 2018. Lady fingers were removed from the crust ingredients.
beth says
this was an awesome recipe! i added 4 tablespoons of orange liqueur to the espresso before dipping the ladyfingers and i used marscapone rather than cream cheese for the topping with 4 tablespoons of rum. other than that, i followed the recipe exactly and the texture was really smooth. this is easily my new favorite cheesecake.
Krissy says
Water bath cheesecakes are my least favorite because of how much crap it takes… has anyone tried this without the water bath? I’m just curious if it would still turn out?!
Billy says
I put a small foil pan on the bottom of my gas oven, I ususally do not have cracks on my cheesecakes when I do that instead of doing a waterbath.
Jeanette says
I made this cheesecake for a holiday dinner party. It was a huge hit. The only thing I did differently was in the whipped topping. I used 4 ounces of mascarpone cheese in place of the cream cheese. I also whisked in a little confectionery sugar into the cocoa powder just to reduce the bite of the chocolate.
Jody says
I get requests from my family members to make this a few times a year. Mine turns out everytime and I make it to look just like your pic. I use the lady fingers in the crust as per the original recipe. Best cheesecake ever!
Michelle says
Made this the other night when we had guests over for dinner... They both said it was the best dessert they ever had!
Jamie says
Made it for mother's day for my mum who loves tiramisu and cheesecake!!
I used a 25cm cake tin because there was no 9" increment, it turned out just fine. There was also no pudding mix to be found so I stabilised with gelatin.
I personally skipped the water bath, I did end up with a cracked cheesecake but I topped it with the whipped cream and cocoa, orange slices, dark chocolate shards, white chocolate tim tams, and a sprig of mint for colour. The fresh orange went so well with the coffee cake, passionfruit would have been beautiful too!!!
High recommend for this recipe!! No problems using Australian measurements/cups/tin sizes instead overall, and a strong recommendation for pairing with some tart and acidic fruit.
Heide horeth says
I’d love to know how to half this recipe. Large parties and big desserts are far and few between. Who can do the math and figure out how to make a 6 or 7 in cheesecake?
Tara Taylor says
Hi Heidi, I successfully halved this recipe yesterday (all parts) and put it into my 6 inch instant pot springform pan. I baked it in the oven with a water bath like normal, but for half the time, and cooled half the time. It seems like it looks exactly like the full size version, which I’ve made many times. I haven’t tasted it because it’s a gift, but it all looks the same.
Cait says
Could I substitute mascarpone cheese instead of cream cheese for the cheesecake to make it more tiramisu flavor-y? Thanks!
Amy Duska says
Yes you can.
Katie says
Hi,
So excited to make this for Christmas Eve. What size spring form pan should I use?
Amy Duska says
9" is what I use.
Amanda Moushabek says
I just made this for dad and brothers birthday. The whole family absolutely loved it, it was definitely worth the time and effort. Everything came out perfect, I may have soaked the ladyfingers a tad too much, but everyone swears it really brings the flavor out. Ended up surrounding it with chocolate covered strawberries which paired perfectly and looked so pretty. Thank you for the awesome recipe!
Billie says
Decided to make this for a big Italian themed family dinner for Friendsgiving. I didn't have a 10" cake pan and everywhere near me was sold out, so I tried wrapping the pan in foil for the water bath - FAIL. Crust got soggy, but still, tasty.
As a whole everything else came out great. Had a friend pick up ladyfingers from an Italian store where they were labeled Biscotti. Imagine my delight in seeing them, then dipping them and discovering they were really just homemade ladyfingers by another name.
Very enjoyable recipe as a whole.
Shopper says
A tip for wrapping foil around the bottom of a springform pan is to use a double layer of foil with an equal size layer of plastic wrap sandwiched between the two layers of foil. Frequently crunching foil around the bottom of a pan can cause tiny undetectable perforations that allow water to seep through the foil. The plastic layer in between the foil prevents any seepage from getting into the seam of the cake pan. I've used this method for years without fail.
Kelli says
What does the butter in the filling do? Does it improve it somehow?
Amy Duska says
Helps to give it a smooth consistency.
Candice Meyer says
Delicious! Cake was light and not so sweet. I would like a little more coffee flavor, too. Can you add water bath instructions to this page with your cake pan trick and without it please? I used tin foil and indeed it soaked the crust making it hard and too heavy to lift the parchment off the bottom of the pan. Served it on the pan with the parchment lol!
Amy Duska says
Hi Candice! I just updated the recipe to include the leak proof water bath instructions!
Dianne says
Yum! Made this and followed the recipe to the tee! My new favorite. I love cheesecake but don’t like store bought. And restaurant cheesecake is pricey. This recipe is definitely one I can use to bring for celebrations!
Michelle says
This cheesecake turned out amazing.... I made it for an Italian dinner with friends and family and everyone loved it. I would like to try some of the other cheesecake recipes on your website but I think my husband would give me the stink eye if I don't make this one every time. Thank you for a keeper cheesecake recipe!
Omika says
Can this be made without eggs
MW says
Absolutely delicious! Got rave reviews!
Nova says
I tried this Tiramisu Cheesecake and it was a hit. And thank you! I love it doing it.
Scarlet says
hi Amy, I can't find jello instant white chocolate pudding mix. Would plain gelatin work to keep the structure with the whipped cream and cream cheese? Any other ideas for substitution?
Amy Duska says
I would use vanilla instant pudding if you can find it.
Christy says
Cheesecake pudding works really well too
Sheryl wood says
What size pudding do you use for this
Amy says
3.4 oz. package
Lehana says
I haven't made this but I'll try and replace the milk&pudding with white choc ganache (I'll use choc and a stabilised cream - UHT cream). The ganache should have more or less the same consistency as the pud, but the flavour might be stronger.
Jody says
I've made this recipe many times with absolutely amazing results. It's my favourite cheesecake. I want to try this recipe for my son and leave out the 6tbsp prepared coffee (he doesn't like coffee). Would this turn out well without the added liquid from the coffee?
Amy Duska says
It should turn out fine!
Jessica says
I love this recipe however no matter what I do, every time I make it the ladyfingers just will not stay submerged in the filling! I've tried soaking them very lightly and to the point of almost falling apart when transferring and they float which makes for an ugly cheesecake if you don't top it. Any ideas?
Angel says
I've made this cheesecake several times, it is so very good! My family always ask for this particular one, so thank you for a yummy family favorite! So the absolute only thing I do different is the crust. Have you guys tried the coffee cookies named BISCOFF? WELL LET ME TELL YA, THEY ARE SUPER GOOD WITH THIS CHEESECAKE! Thanks again!!
Christy says
Shortbread cookies or vanilla wafers with 2 tsp of instant coffee ground in makes a good crust also