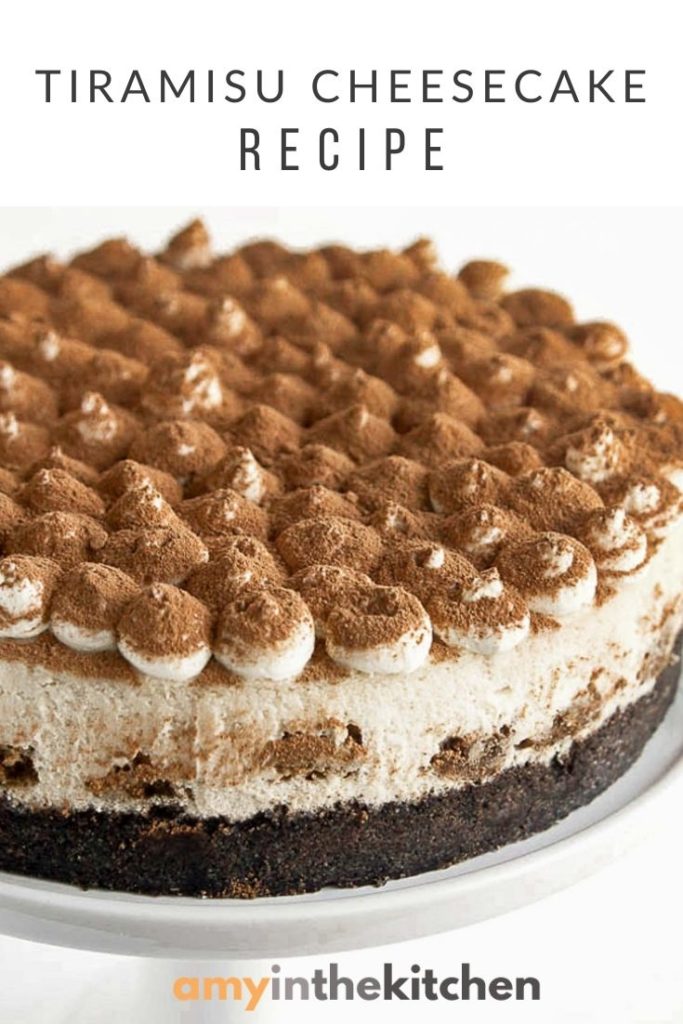
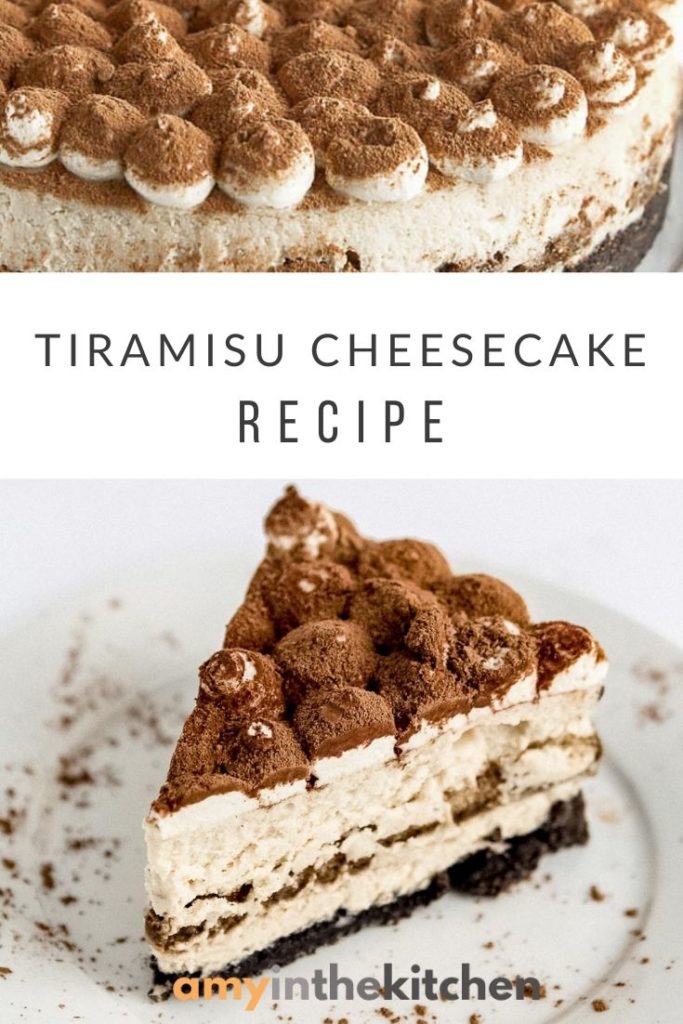
This Tiramisu Cheesecake recipe has a creamy coffee flavored filling with a white chocolate whipped topping and a dusting of cocoa powder. Cheesecake is the perfect dessert for holiday parties.

Italian tiramisu is a classic dessert recipe that is loved by many. Especially during the holidays. Our recipe takes the flavors of tiramisu and transforms them into a rich and creamy cheesecake that is simple to make.
Plan to make this cheesecake 1-2 days in advance as it needs a minimum of 6 hours to set properly before serving. A water bath is recommended to make sure the cheesecake bakes evenly and the outside edges do not over bake.
How to make tiramisu cheesecake
Here's a breakdown of the steps needed to make the best tiramisu cheesecake!
- Make the crust: Process the Oreos, cream center included, and the espresso powder until they are a fine consistency. Add melted butter to combine and press into the spring-form pan. Bake at 350°F for 10 minutes and set aside.
- Prepare the water bath: Lower the oven temperature to 320°F. Place a large roasting pan in the oven on the middle rack. Pour hot water into the pan, making sure it is about 1" in depth. Close the oven door.
- Make the filling: Bring the cold ingredients to room temperature before mixing for a smooth filling. Use a stand or electric mixer on LOW speed to mix the ingredients, making sure not to over-mix. (Make sure to reserve 6 tablespoons of espresso for the next step.) Pour half of the cheesecake filling into the spring-form pan.
- Layer the filling: Dip the lady fingers in the remaining espresso and arrange them in a single layer over the filling. Carefully pour the remaining cheesecake filling over the lady fingers and smooth the top with an off-set spatula.
- Bake: Insert the spring-form pan into a 10" cake pan and place the cake pan into the water bath.(Water level should cover half the depth of the cake pan. Add water if needed.) Bake for 1 hour at 320°F.
- Cool: Turn the oven off and let the cheesecake cool in the oven for 1 hour with oven door cracked. Remove the cheesecake from the oven, run a knife around the edge of pan and let the it cool completely on a heat-safe counter top.
- Chill: Place the cheesecake, uncovered in the refrigerator overnight or a minimum of 6 hours to set. (Do not remove the spring-form pan.)
- To serve: Before you are ready to serve make the whipped topping and decorate the top of the cheesecake. Dust with cocoa powder and serve.

Tips for success
Don't over mix the filling when mixing. Air incorporated into the batter will result in cracks on top of the cheesecake.
The center of the cheesecake should be jiggly after baking. As it cools, the center will continue to bake and firm up in the fridge.
A water bath is recommended for the best results. The steam from the water keeps the oven moist and the warm water surrounding the pan bakes the cheesecake evenly from the outside to the center.
Make the water bath leakproof by placing the 9" spring-form pan into a slightly larger 10" cake pan before inserting it into the roasting pan. The cake pan will form a barrier that will prevent water getting into the cheesecake's crust.
Check out our tutorial for step by step instructions on How to Create a Leak-Proof Water Bath for Cheesecakes.
How to store tiramisu cheesecake
- To Store: Keep leftovers covered in the fridge for up to 5 days.
- To Freeze: Place the cheesecake in the freezer, without topping, until frozen solid. Wrap with plastic wrap and a layer of foil. Keep frozen for up to 3 months. When ready to serve, allow to thaw in the fridge overnight and decorate with the whipped topping and cocoa powder.
5 must try cheesecake recipes
Do you love cheesecake as much as we do? Here are 5 easy cheesecakes to try for your next party!
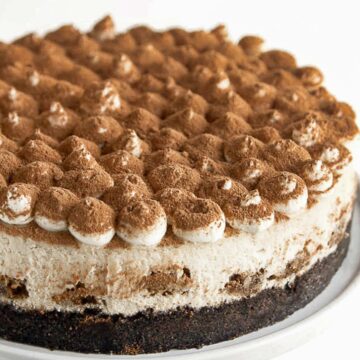
Tiramisu Cheesecake
Ingredients
Crust
- 24 Oreos including the cream center
- 1 teaspoon instant espresso powder
- 6 tablespoons unsalted butter melted
Cheesecake Filling
- 32 oz. cream cheese room temperature
- 1 cup granulated sugar
- 2 tablespoons unsalted butter room temperature
- 2 large eggs room temperature
- 2 teaspoons vanilla extract
- ¼ cup flour
- 12 lady finger biscuits
- 1.5 Cups prepared espresso or very strong coffee Separate 6 tablespoons to use in the filling, the rest will be used to dip lady fingers
Whipped Topping
- 8 oz. heavy whipping cream
- 4 oz. cream cheese room temperature
- ½ cup milk
- 1 packet white chocolate instant pudding mix or vanilla flavored
- ¼ cup cocoa powder
Instructions
- Preheat oven to 350°F and line a 9" spring-form pan with parchment paper.
- Make the crust: Place the Oreos and instant espresso powder into a food processor and pulse until a fine consistency. Pour in the melted butter and pulse until fully combined. Press the mixture into the bottom of the spring-form pan making sure it is compact and bake for 10 minutes. Remove and set aside to cool while you make the filling.
- Prepare the water bath: Turn the oven down to 320°F. Place a large roasting pan in the oven on the middle rack. Pour hot water into the pan, making sure it is about 1" in depth. Close the oven door.
- Make the filling: Using a stand or electric mixer, beat the cream cheese, butter and sugar on low speed until smooth. Scrape down the sides a few times. Add eggs one at a time making sure they are fully incorporated after each addition. Add the vanilla extract, 6 tablespoons of prepared espresso and flour, scraping down the sides of the bowl as needed to make sure everything is well combined. Pour half of the cheesecake filling into the spring-form pan.
- Layer the filling: Dip the lady fingers in the remaining espresso and arrange them in a single layer over the filling. Carefully pour the remaining cheesecake filling over the lady fingers and smooth the top with an off-set spatula.
- Bake: Insert the spring-form pan into a 10" cake pan and place the cake pan into the water bath. (Water level should cover half the depth of the cake pan. Add water if needed.) Bake for 1 hour.
- Cool: Turn the oven off and let the cheesecake cool in the oven for 1 hour with oven door cracked. Remove the cheesecake from the oven, run a knife around the edge of pan and let the it cool completely on a heat-safe counter top.
- Chill: Place the cheesecake, uncovered in the refrigerator overnight or a minimum of 6 hours to set. (Do not remove the spring-form pan.)
- Make the whipped topping: Beat the heavy whipping cream until it forms stiff peaks. In a separate bowl, beat the cream cheese, milk and instant pudding until completely smooth. Fold the whipped cream into the cream cheese mixture until it is fully incorporated.
- Assemble: Remove the spring-form pan and place the cheesecake on a serving platter. Place the whipped topping mixture into a piping bag with a large tip, I used Wilton 2A, and then decorate the top of the cheesecake by piping large dots. Dust the top of the decorated cheesecake with cocoa powder and keep chilled until ready to serve.
Notes
- To Store: Keep leftovers covered in the fridge for up to 5 days.
- To Freeze: Place the cheesecake in the freezer, without topping, until frozen solid. Wrap with plastic wrap and a layer of foil. Keep frozen for up to 3 months. When ready to serve, allow to thaw in the fridge overnight and decorate with the whipped topping and cocoa powder.
This recipe was originally posted in January 2016 and updated in July 2018. Lady fingers were removed from the crust ingredients.
Michelle says
YUMMMM!
Tarah H. says
This cheesecake was a hit when I brought it to work for a coworkers birthday!!
Billie says
I made this gluten free for my d/l birthday. She has celiac disease so any gluten makes her very sick. I used gluten free Oreos, ladyfingers, pudding, cocoa, espresso powder, cream cheese. Eliminated the flour and added one more egg. The results were delicious!!! Keeping this recipe handy!
Kelly says
This is HANDS DOWN the best dessert I have ever made. Thank you so much for the recipe!
Habiba says
This was something I'd order at a restaurant. It came out SO good. My family went crazy over it .
Kelly says
I made this for Christmas with my family this year. I’m a pretty skilled baker and I make layer cakes a lot so I was excited to make this cheesecake. This was honestly THE best dessert of any kind that I have ever made: it takes awhile to make but it is WORTH IT! Seriously, make this! It’s FABULOUS!
Susan P says
I have never made a cheesecake…ever! I saw this recipe and decided that this would be the first one. The directions were precise and easy to follow. I made a perfect tiramisu cheese cake! I brought it to my work family and they loved it! Nobody could believe it was the first time I made one and it was gone in about 30 seconds! I will be making 4 more…2 for work and 2 for my family on Christmas.! Thank you for sharing this and making it so easy to follow!
Jody says
I'm making this again this year (usually do once a year). I've made it about 4 or 5 times. I use the original crust ingredients with half lady fingers and half oreos. By far the best cheesecake recipe that is always a hit with everyone.
MB says
I made this for the first time for a work friends birthday and now it’s everyone’s top request. People have offered to pay me to make them for their special occasions!
Erin says
My go-to special occasion dessert that can be prepped the day before. I sprinkle edible gold dust on top for added glam! Love this recipe ❤️
Ed Robinson says
This was a hit last year and I'm making it again this year. It's delicious
Cindy O from Austin says
Question: have you tried lightly dipping the lady fingers in the espresso mixed with a hint of brandy, rum or Kahlua?
DeFe says
I haven't tried that with this recipe, but the tiramisu recipe I make used Dry Marsala wine and espresso mixed. Mix to your tastes.