


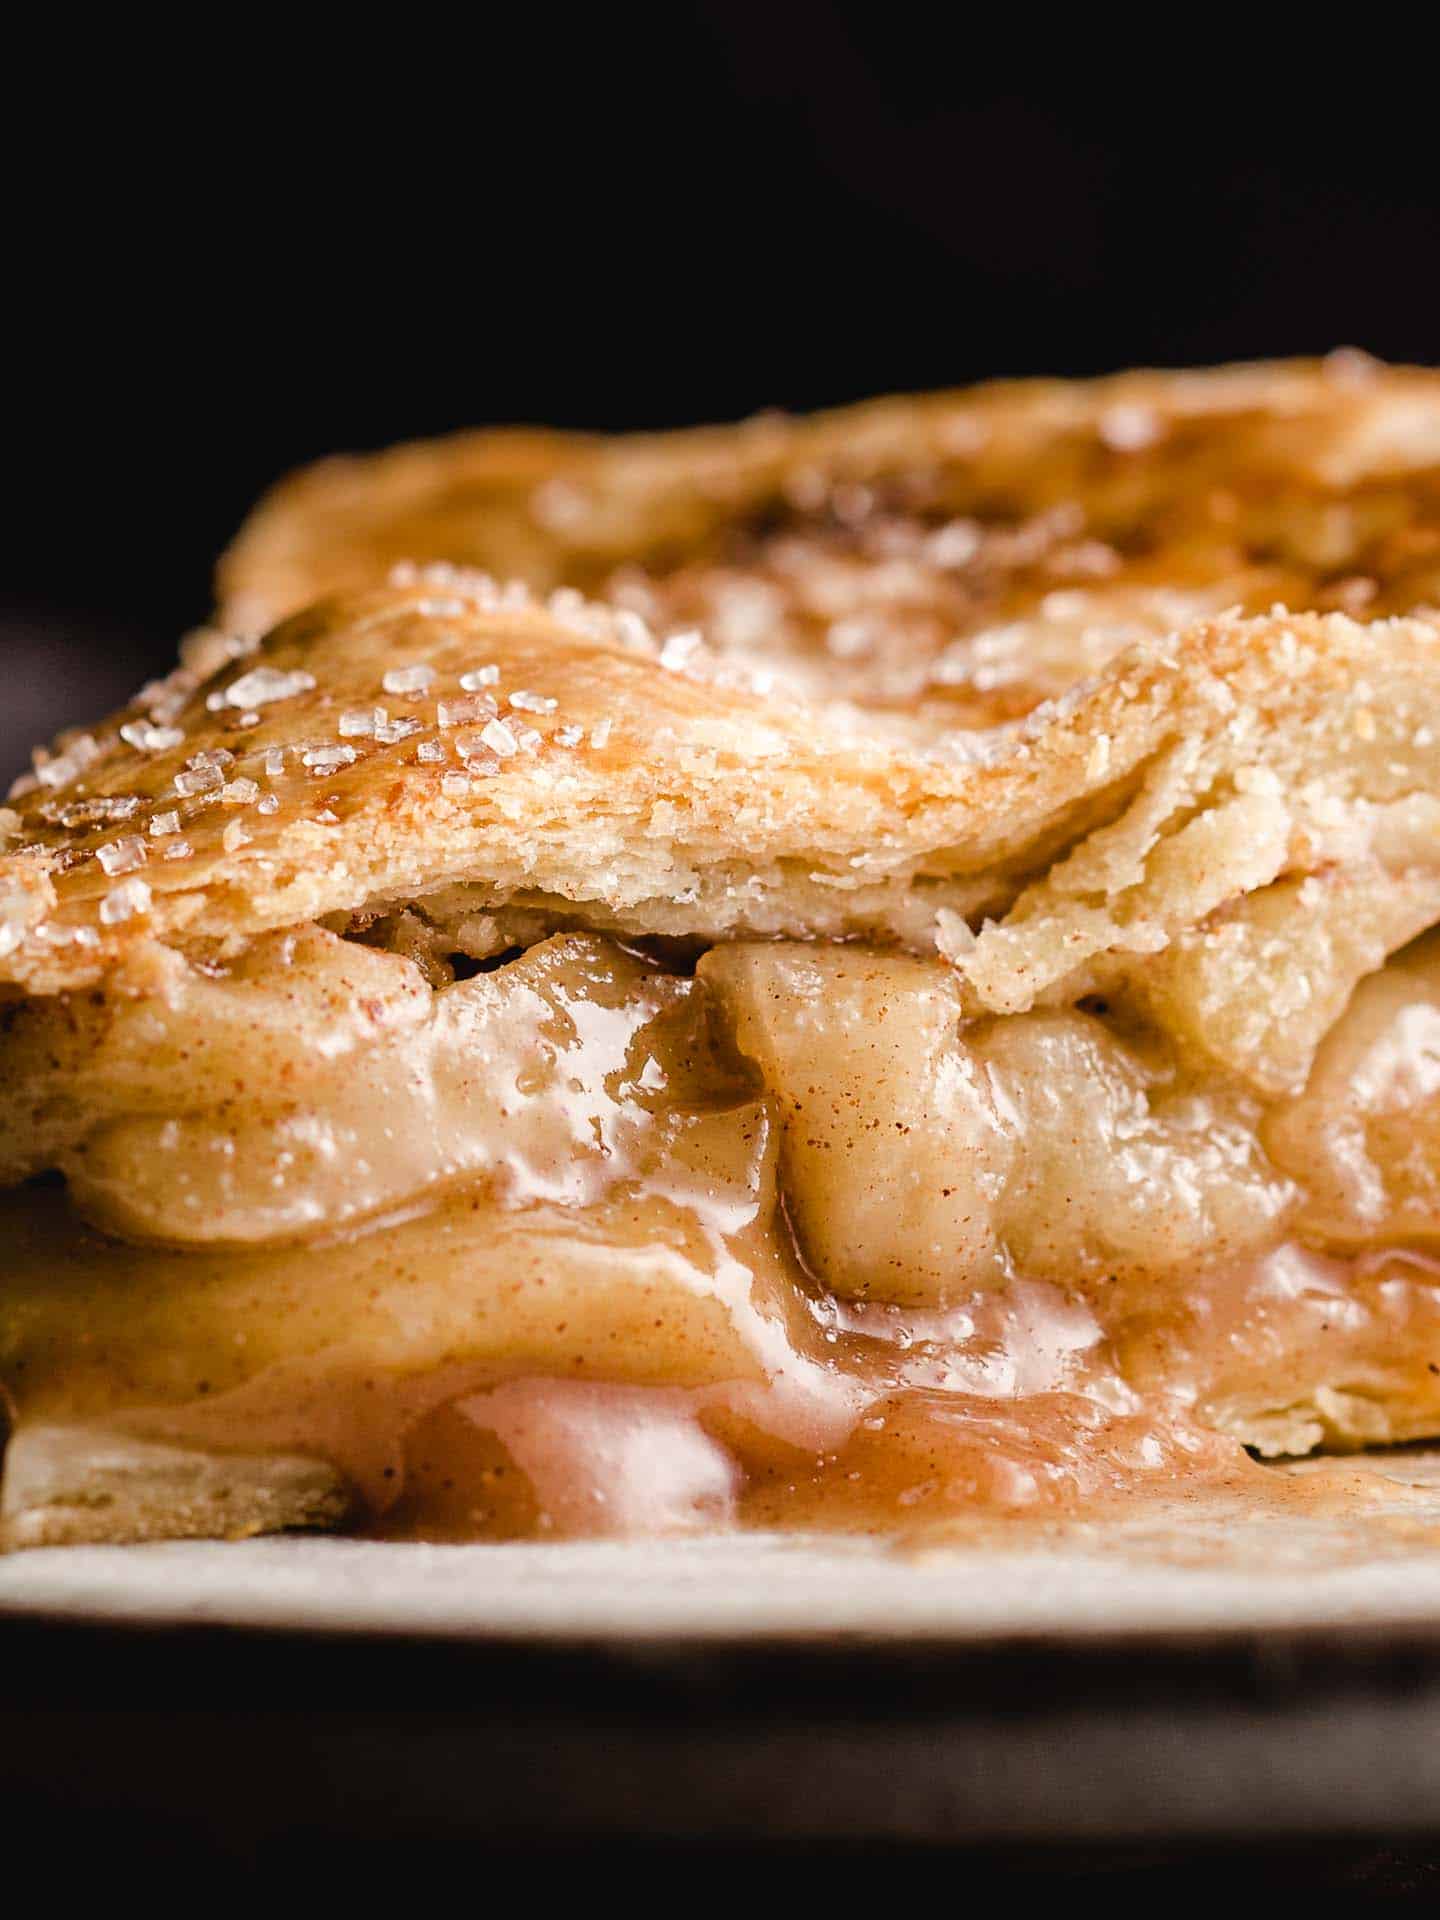
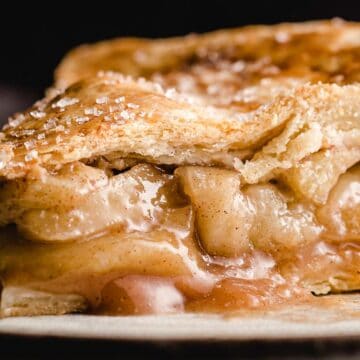
This recipe is hands down, my favorite apple pie made from scratch! Juicy apple slices are coated in sugar and spices and then baked to perfection inside a flaky homemade pie crust.
No need to worry about mushy apples or a soggy pie crust because this apple pie bakes to perfection every single time!
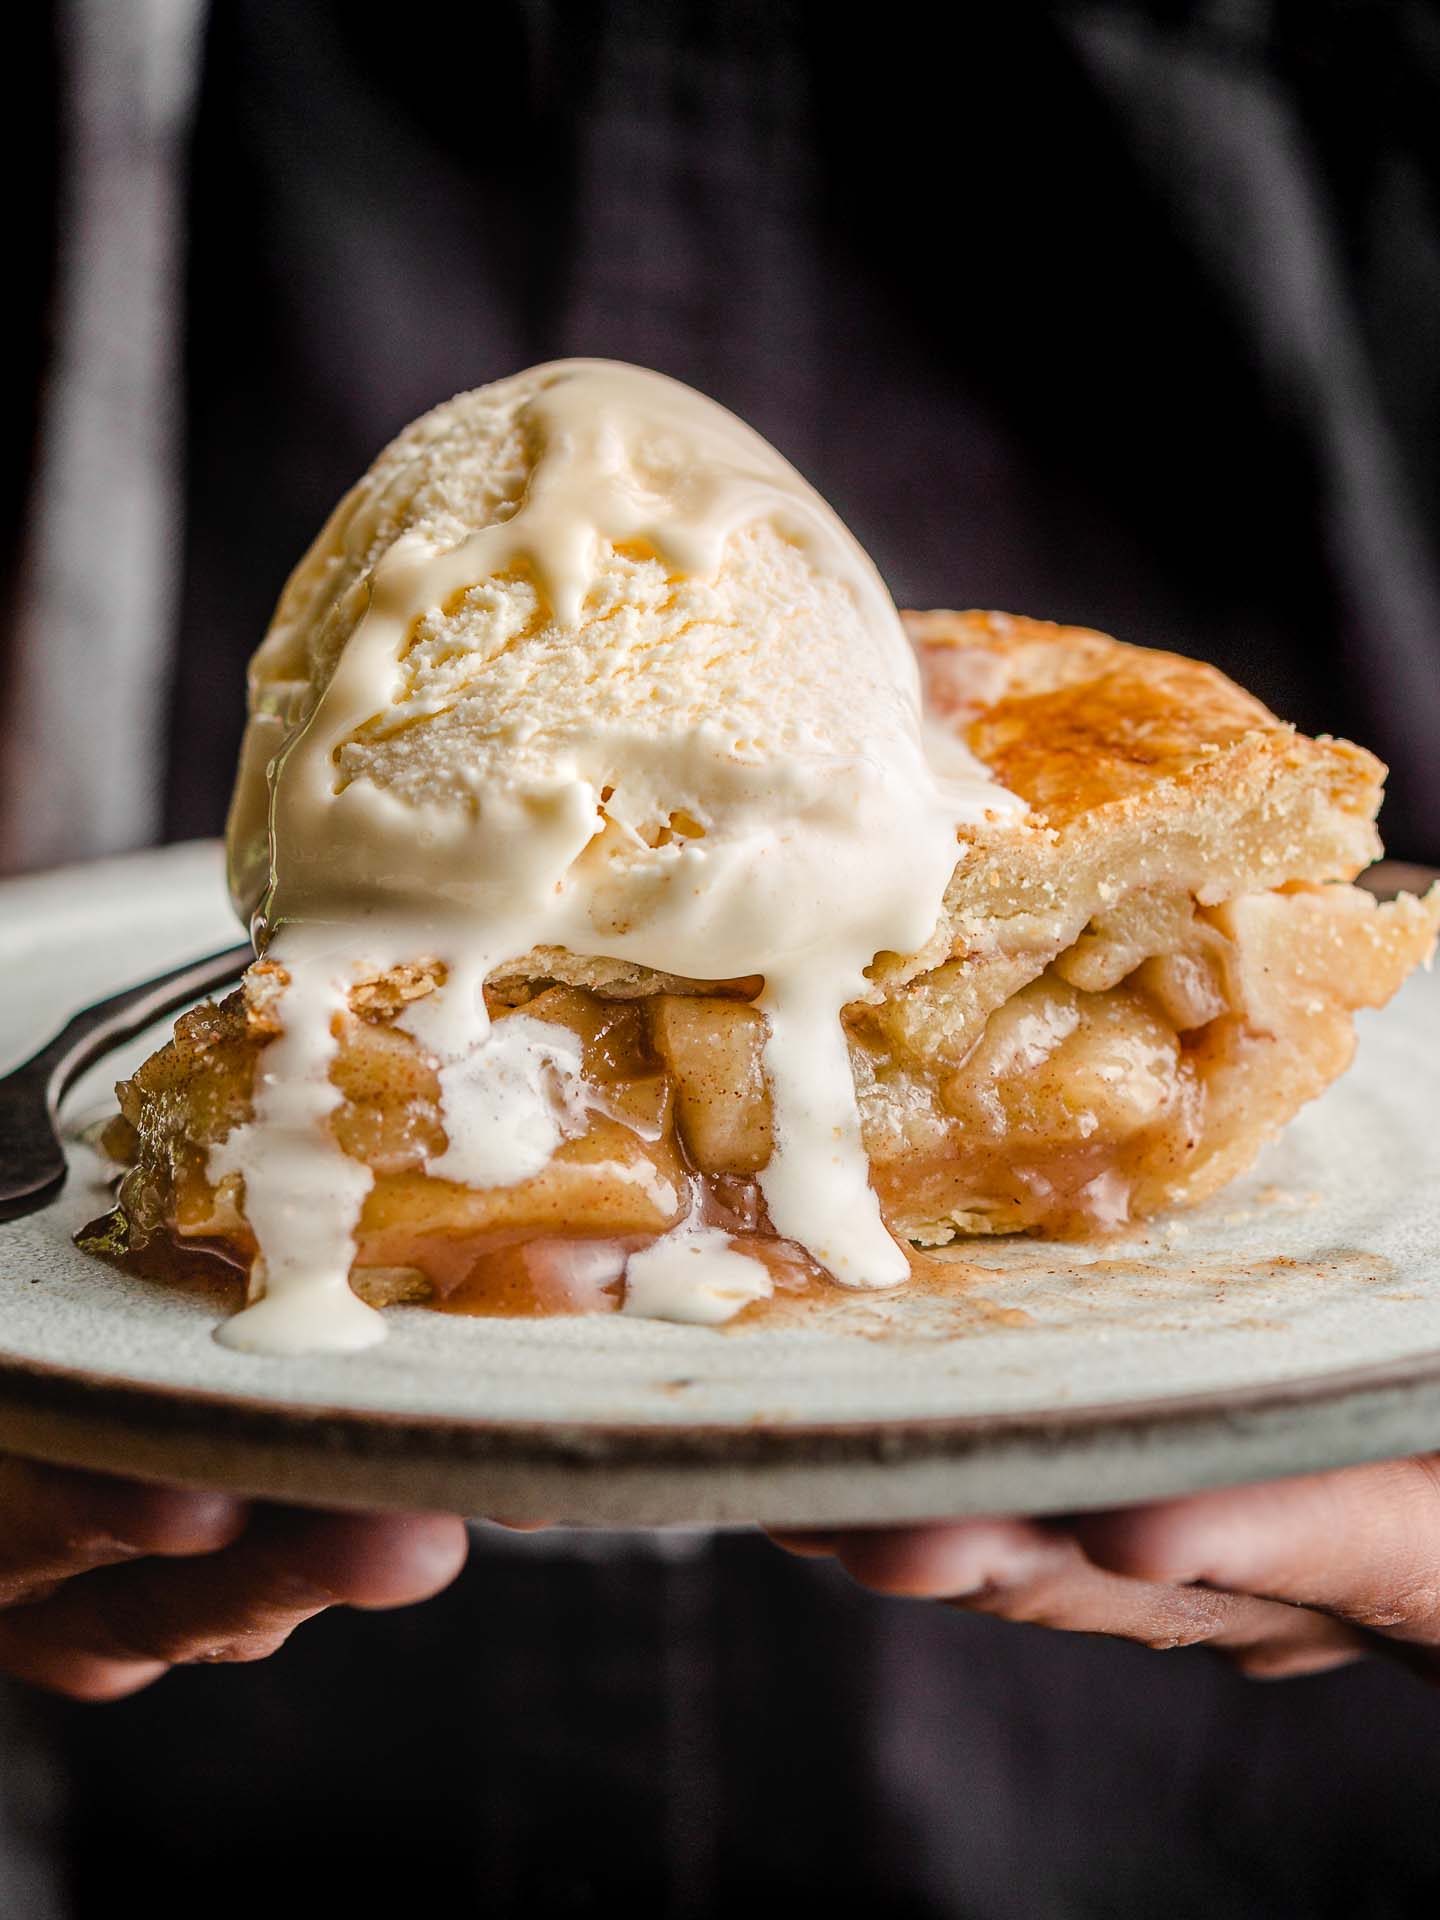
Just like a good pumpkin pie or pecan pie, we all need an easy to make apple pie recipe. Whether you want to serve a classic holiday dessert for your Thanksgiving or Christmas gathering or, you're just in the mood for the irresistible taste of cinnamon and apples, I guarantee you've found yours here!
What you need
- pie crust
- apples
- granulated sugar
- brown sugar
- flour
- cinnamon
- nutmeg
- lemon
- egg
Equipment needed for making pie
(Amazon affiliate links) - Check out my favorite kitchen essentials.
When it comes to the perfect apple pie there are 2 questions you need to ask. What kind of apples are best for apple pie and how to get an amazing, flaky pie crust.
Best apples for pie
There are so many apple varieties to choose from when making apple pie. Here a few common varieties that you can find at your local grocery store!
- Granny Smith - These are the best apples for making apple pie because they are super tart and very firm. Firm apples hold up well during the baking process unlike varieties such as McIntosh which kind of turn to mush.
- Honeycrisp - This is my second choice when it comes to apple pie. This variety is super crisp, tart, sweet and holds up great during the baking process.
- Jazz - Another crisp and sweet apple variety.
- Golden Delicious - Widely available apple variety. Holds up well during the baking process but will be a little softer than the others.
- Jonagold - A little tart and sweet.
- Pink Lady - Just like Jonagolds, this variety has a good balance of tart and sweet.
The perfect pie crust
A great apple pie starts with an amazing pie crust. We love to use either this all-butter pie crust or our sourdough pie crust. Each of these pie crust use butter and just a little bit of vinegar to produce a tender, flaky pie crust that just can't be beat!
The crust can be made a few days in advance and kept in the fridge or frozen until ready to assemble your apple pie.
If you decide to use a store-bought crust, make sure to follow the directions on the packaging to determine when to take the crust out of the fridge in order to handle it more easily.
How to make apple pie from scratch
Peel, core and slice the apples. In a large mixing bowl, gently toss the apple slices, granulated sugar, light brown sugar, flour, cinnamon, nutmeg, lemon zest and lemon juice until well combined and set aside. Place the oven rack in the center position and preheat your oven to 400°F.
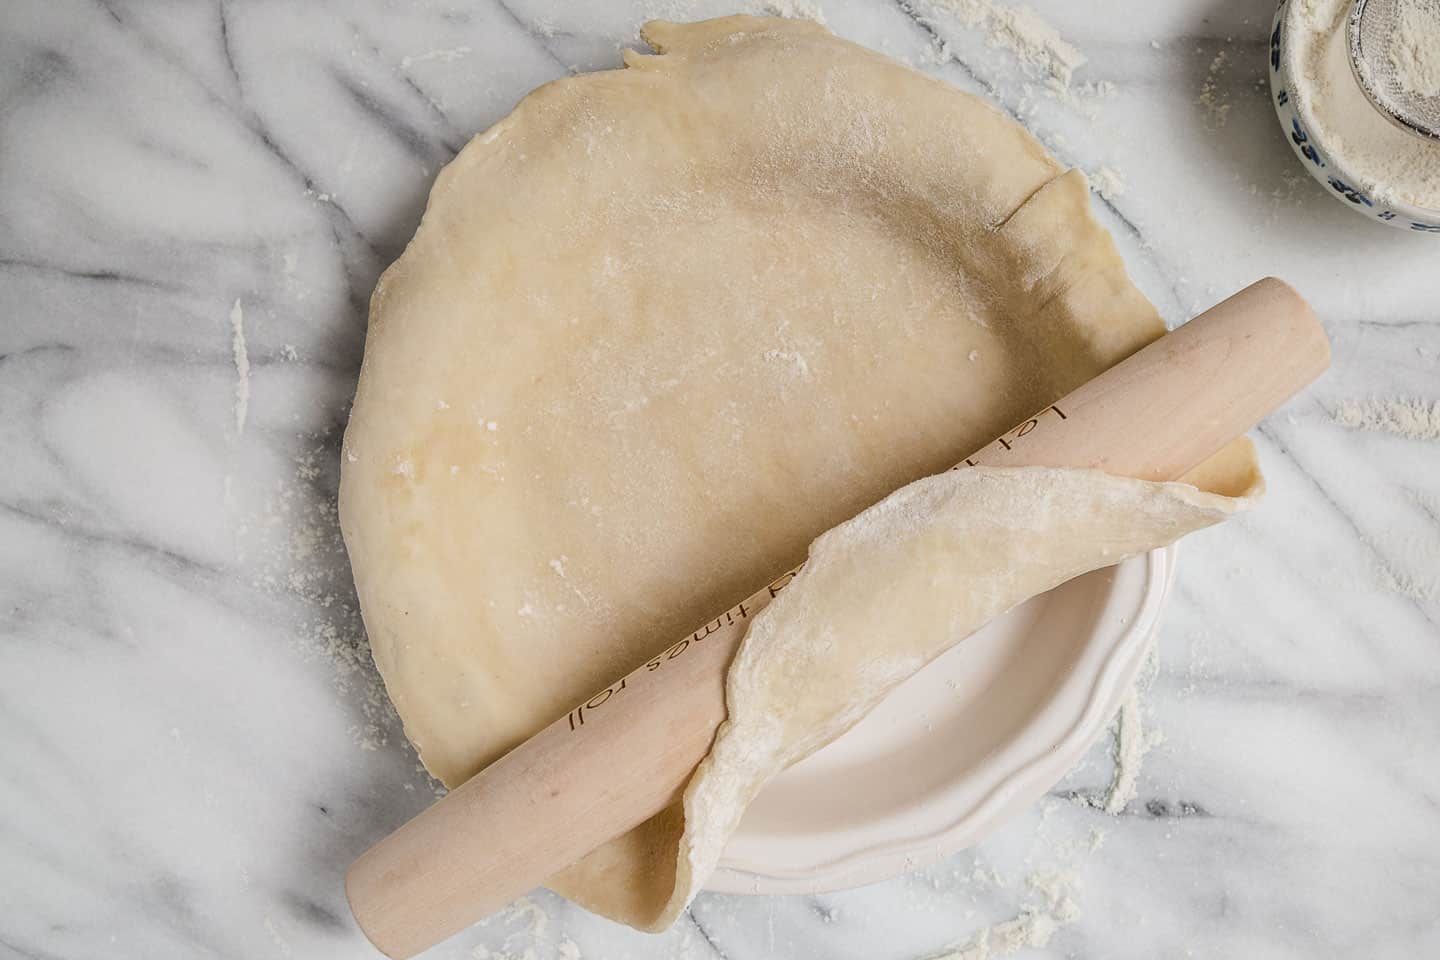
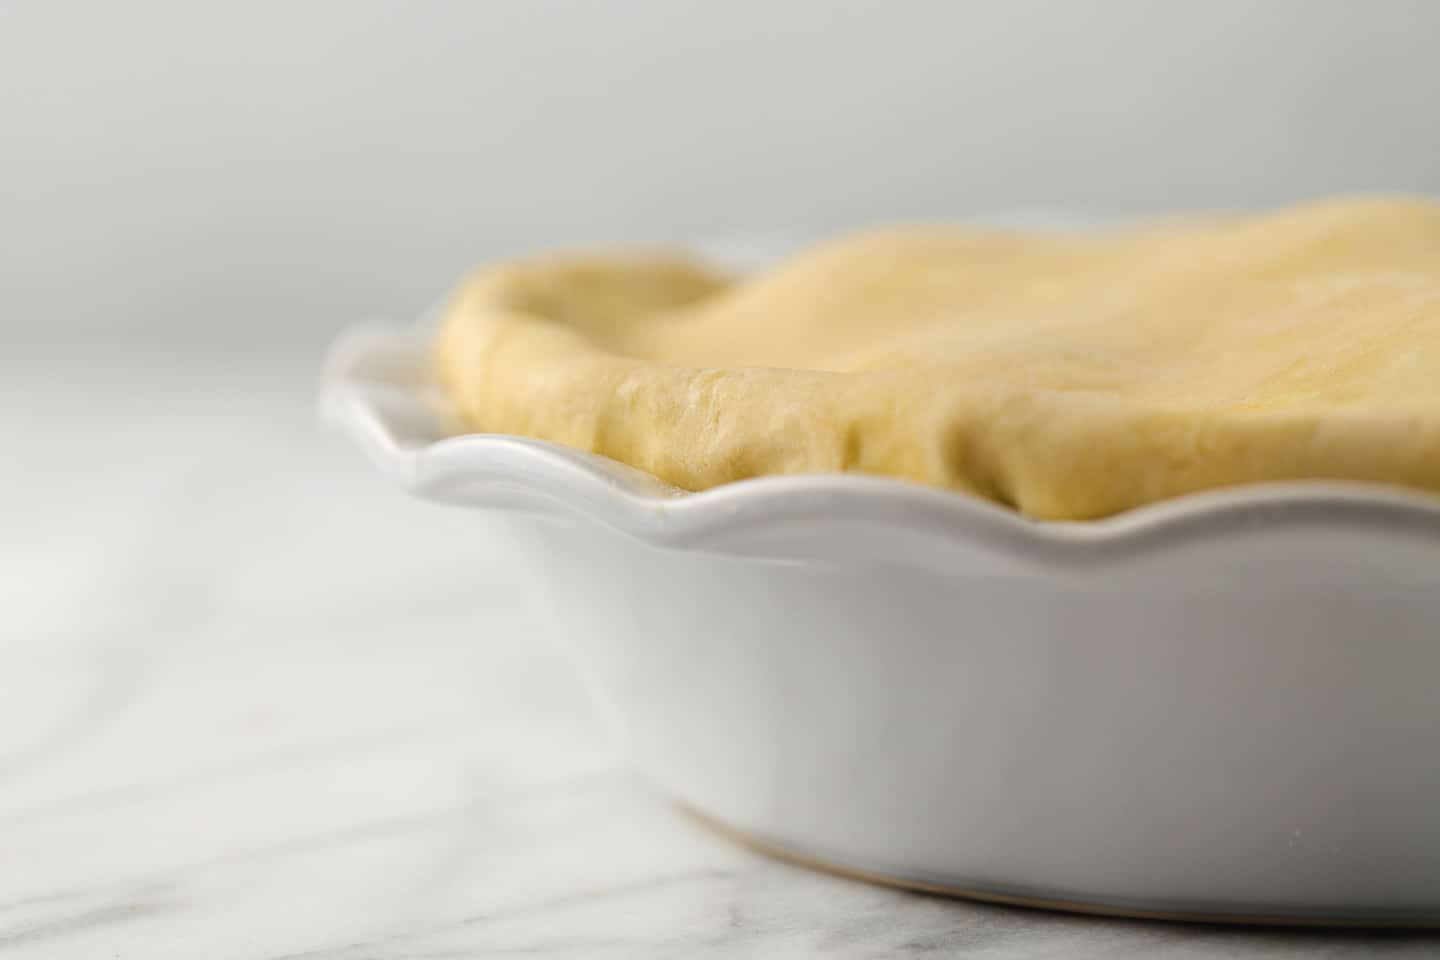
Remove the discs of pie crust from the fridge and let set at room temperature for 5-10 minutes. On a lightly floured surface, roll one of the discs into a 12" circle that is ⅛" thick. Place the crust into the bottom of the deep dish pie plate.
Spoon the apple pie filling into the crust, discarding any liquid at the bottom of the mixing bowl. Spread the apple slices evenly.

On a lightly floured surface, roll the second disc of pie dough into a 12" circle that is ⅛" thick. Place the crust over the apple pie filling.
Use a sharp knife to trim the excess dough from around the edge of the pie plate. Use your fingers to pull both the bottom and top pie crust up and slightly away from the edge of the pie dish. Fold the edge under itself and press down to seal the edge in place. Rotate the pie a quarter turn and repeat until edges are neatly tucked in.
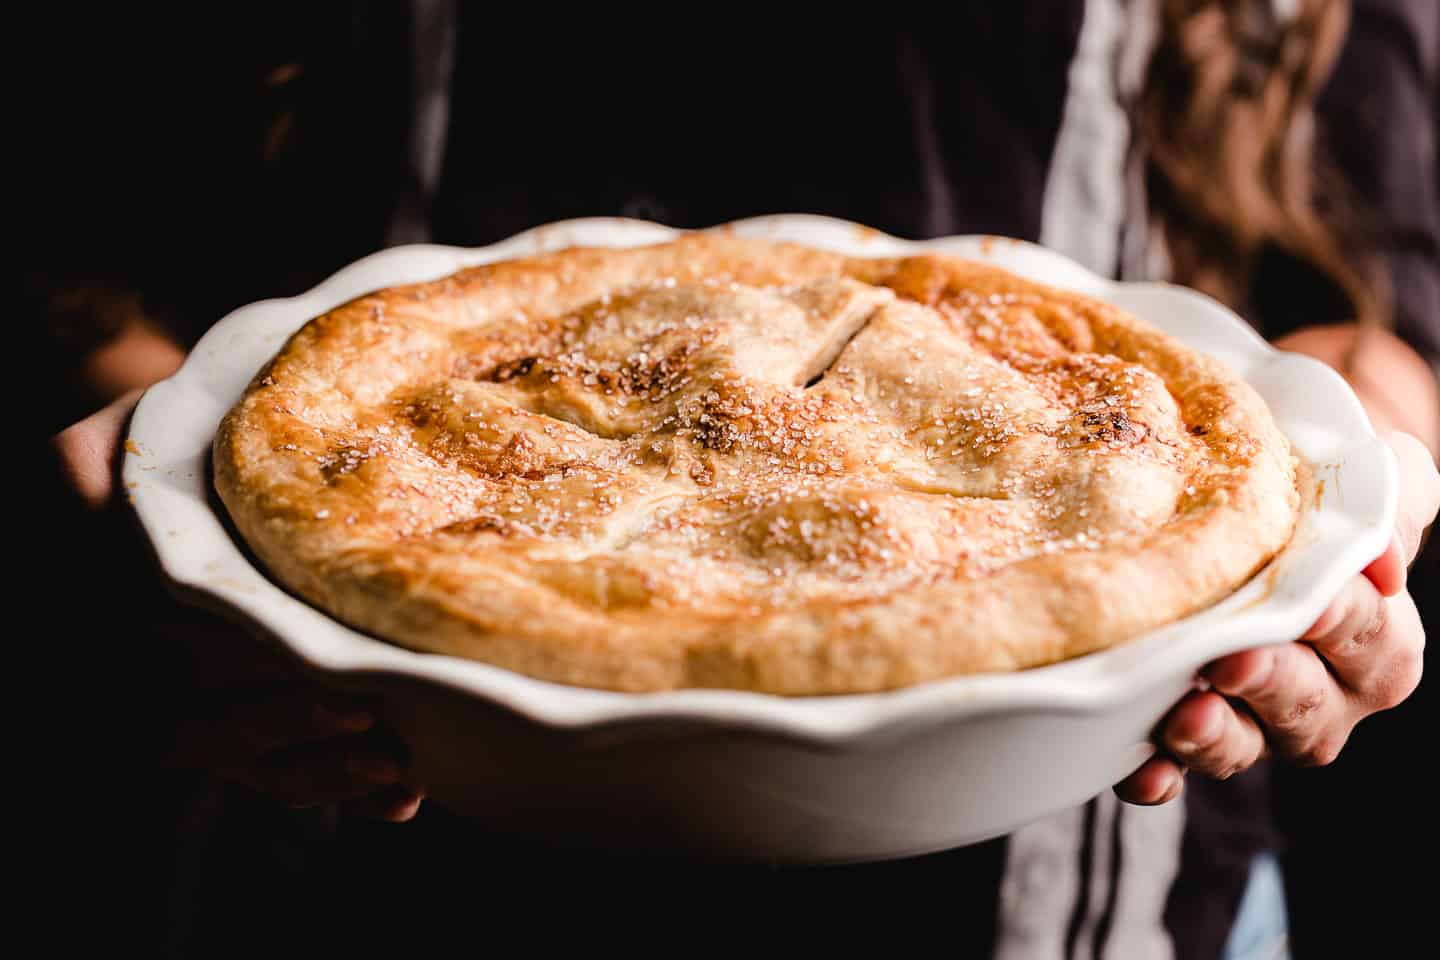
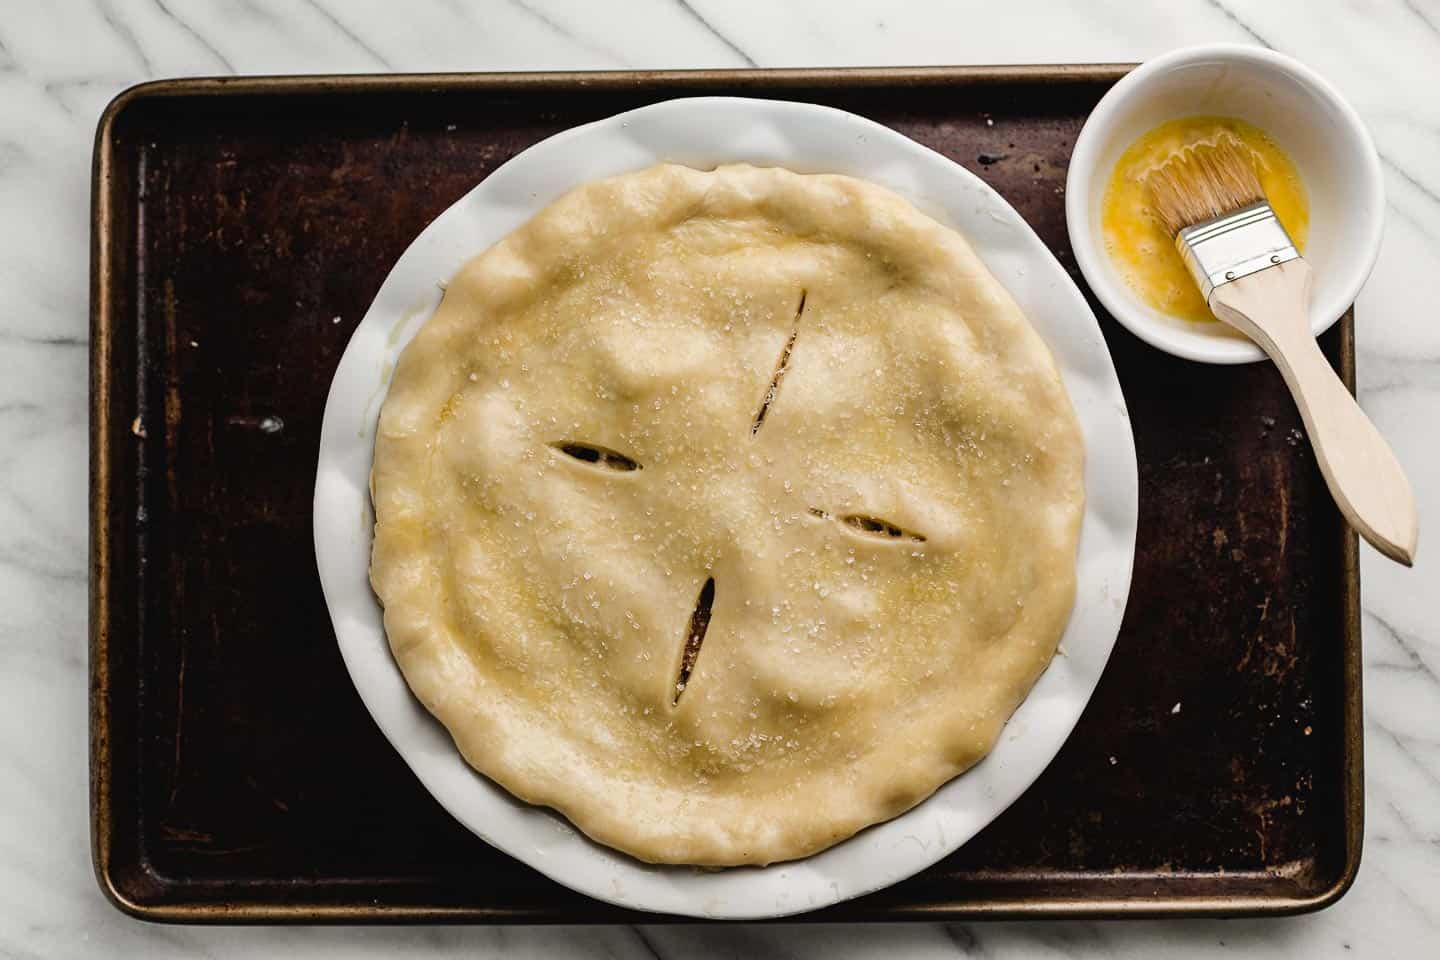
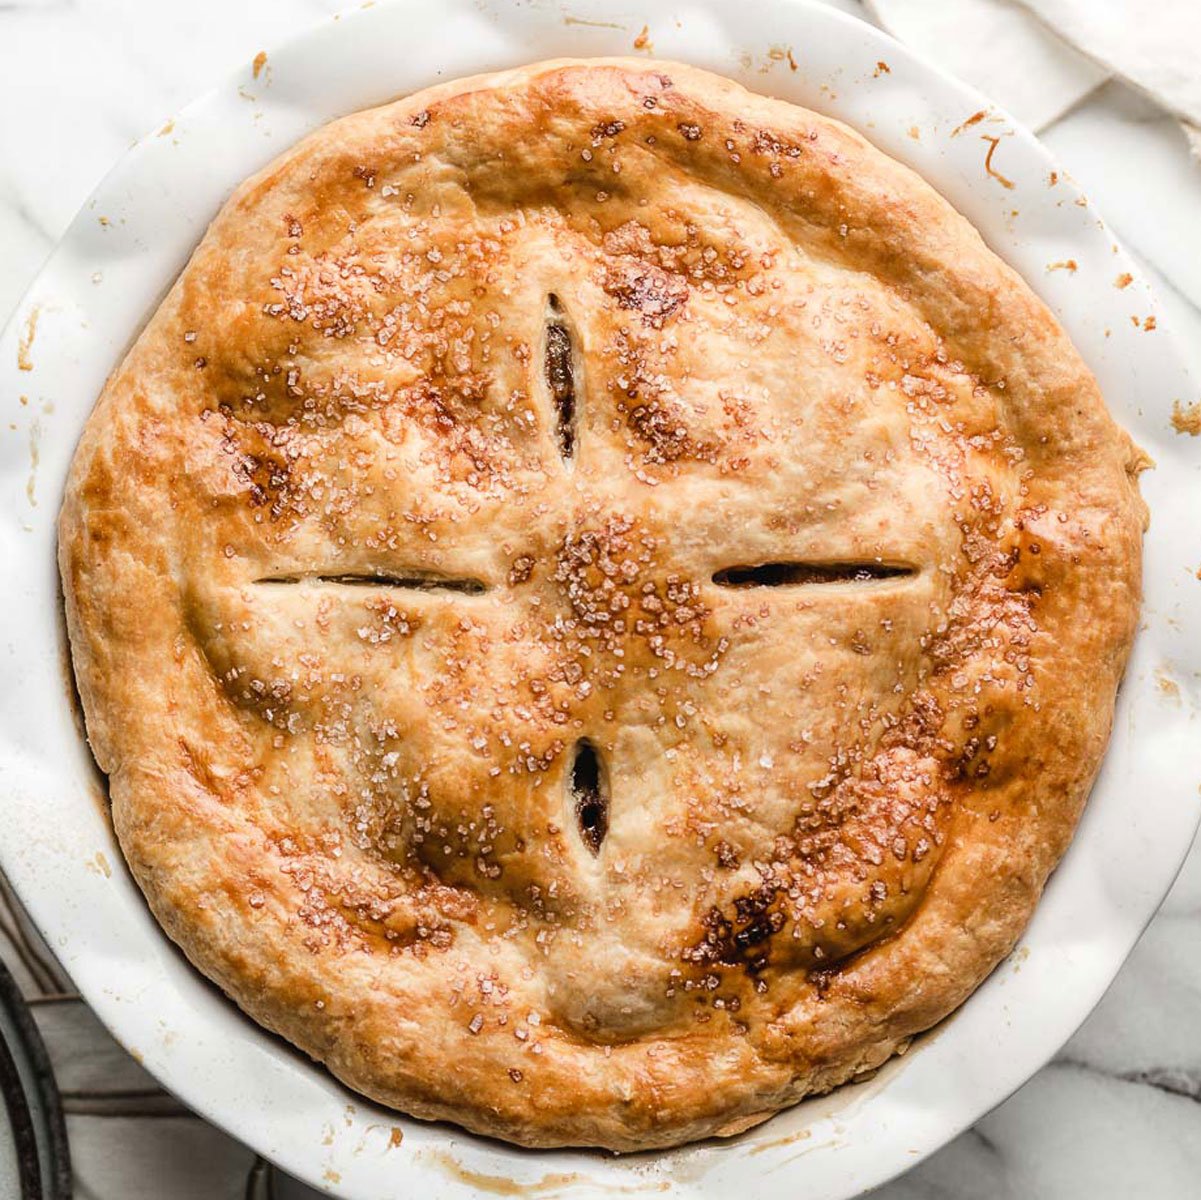
Place the pie dish onto a baking sheet and gently brush the surface of the dough with the egg wash and sprinkle sanding sugar on top. Use a sharp knife to cut vents in the crust.
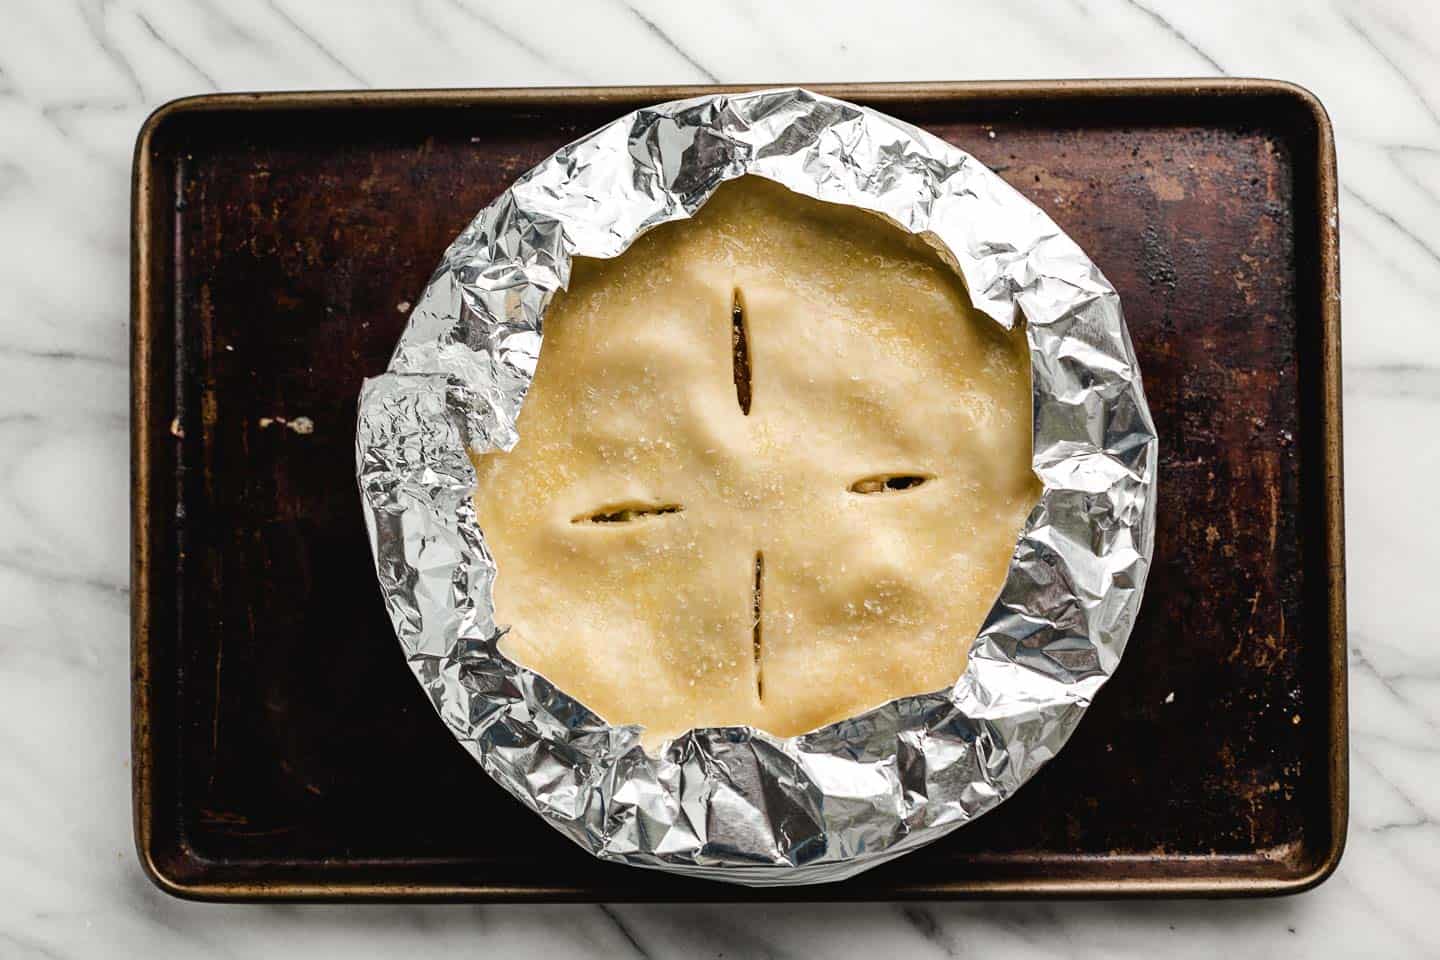
In order to protect the edges of the pie from over-browning, use a long strip of aluminum foil (about 38" long) by folding it in half lengthwise and then folding in half again, lengthwise. Wrap it around the edges of the pie plate and over the edges of the crust. This is referred to as a "pie shield".
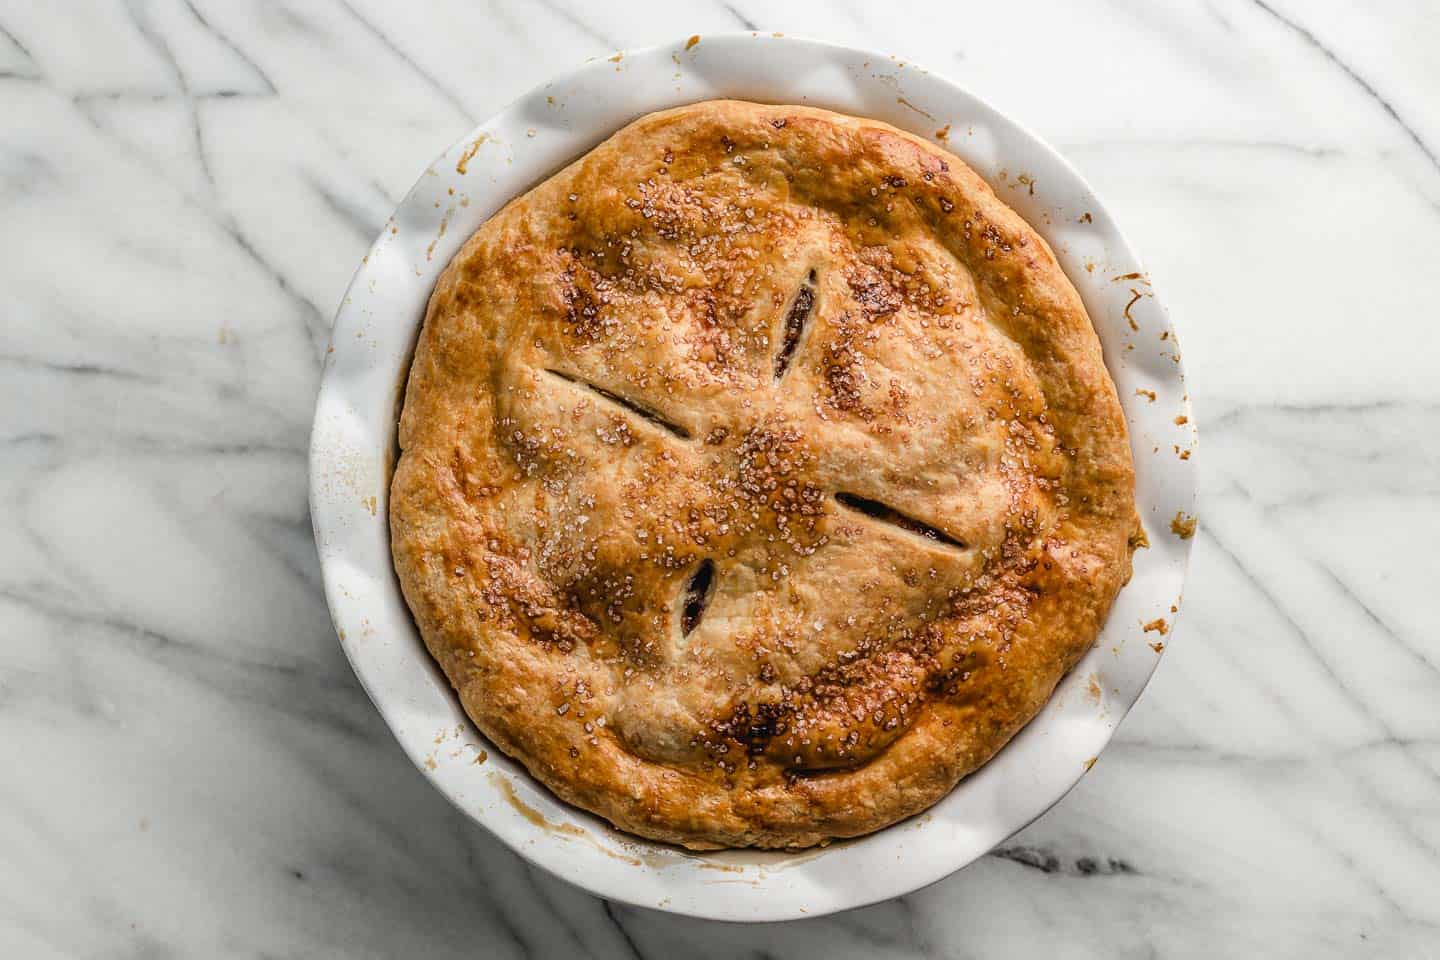
Bake the pie at 400°F for 25 minutes. Remove the pie shield, lower the oven temperature to 375°F and bake an additional 30-35 minutes.
You'll know the apple pie is done when the crust is a lovely golden brown and the juice is bubbling up the sides of the pan.
TIP: I recommend using a pie shield during the first 25 minutes of baking instead the second half of baking to prevent burning yourself when placing the shield onto the pie dish.
How to store
The pie can be made up to 2 days ahead of time and stored, loosely covered, at room temperature or covered in the refrigerator for up to 5 days.
More easy dessert recipes to try
Easy Apple Pie
INGREDIENTS
- 2 (9") pie crusts
- 7 large Granny Smith apples (peeled, cored and sliced into ½ inch slices)
- ½ cup granulated sugar
- ½ cup light brown sugar (loosely packed)
- 2 tablespoons all-purpose flour
- 1 teaspoon ground cinnamon
- ⅛ teaspoon ground nutmeg
- 1 tablespoon lemon juice (plus the zest of half of a lemon)
- 1 large egg (lightly beaten in a small bowl for egg wash)
- 2 tablespoons sanding sugar (optional)
INSTRUCTIONS
- Start by preparing this flaky pie crust recipe which makes 2 (9") pie crusts, one for the bottom and one for the top of the pie. The pie dough will need to chill for at least 1 hour before rolling out. Or use a store-bought pie crust and follow package directions.
- Place oven rack in the center position and Preheat the oven to 400°F (204°C).
- In a large bowl, combine the sliced apples, granulated sugar, light brown sugar, flour, cinnamon, nutmeg, and lemon juice and lemon zest; toss to coat evenly.
- Remove the pie crust dough from the fridge and let rest at room temperature for 5-10 minutes. On a lightly floured surface, roll one disc into a 12" circle that is ⅛" thick. Carefully lay the crust into the bottom of a deep dish pie plate.
- Spoon the apple filling over the bottom crust and discard juices at the bottom of the bowl. Roll out the second disc of pie crust until it is ⅛" thick and lay it over the apple filling.
- Use a sharp knife to trim the dough along the outside edge of the pie plate. Lift the edges where the two pie crust meet, gently press to seal and fold them under. Rotate the pie plate and repeat this process until edges are neatly tucked under themselves. Cut 4 slits in the top of the dough to allow steam to vent. Place the pie on a baking sheet.
- Brush the surface of the pie crust with the egg wash and sprinkle with sanding sugar. Cover the edges with a pie shield or a strip of foil to keep them from over browning during the first 25 minutes.
- Bake at 400°F (204°C) for 25 minutes. Carefully remove the pie shield, turn the oven down to 375° and continue to bake for an additional 30-35 minutes or until the top is golden brown and the juices are bubbly. Cool at room temperature for at least 3 hours.
Nutrition
Common questions
When placing the apple mixture into the pie crust, make sure to spoon the apples out of the bowl and discard any excess liquid that is in the bottom of the bowl. The extra liquid can cause the crust to become soggy. The apples will continue to release moisture as the pie bakes.
There is no need to cook apples before making the pie. The apples will cook during the baking process.
Let the baked pie cool completely and then place in the freezer, uncovered. When completely frozen, tightly wrap the pie in a few layers of plastic wrap. You can also use a large freezer bag. A baked apple pie will stay good in the freezer for up to 4 months.
When you are ready to serve, let the pie thaw at room temperature for one hour. Reheat the pie in the oven at 375°F on the lowest oven rack for 35 to 40 minutes or until heated through.
An unbaked apple pie will stay good in the freezer for up to 2 months. Follow steps 1-7 of the recipe, except DO NOT cut vents in the top of the pie crust.
Place the unbaked pie in the freezer, uncovered. After one hour, remove from the freezer, tightly wrap with plastic wrap or use a plastic freezer bag. Freezing the unbaked pie before wrapping will help keep the shape of the dough around the edges.
When you're ready to bake, do not thaw. Cut vents in the top of the crust and bake at 425°F for 15 minutes. Reduce the heat to 375°F and bake an additional 35-45 minutes or until the crust is golden brown and the juice begins to bubble.
When making the apple pie filling, cut the apples into ½" thick slices. Thick apple slices create a sturdy pie that keeps the crust from caving into the middle.
Granny Smith apples are the best apples for making apple pie because they are super tart and very firm. Firm apples hold up well during the baking process unlike varieties such as McIntosh which kind of turn to mush.
Other great varieties are: Honeycrisp, Jonathan, Jazz, Golden Delicious, Jonagold or Pink Lady.
 PREVIOUS

Trisha Lambert says
I made this and it was delicious and it was easy to make. thank you
Karin says
Thanks for this great and simple recipe! I stopped using processed sugars years ago, so replaced granulated sugar and brown sugar with 2/3 cup honey, and added an extra tablespoon flour to counter the extra moisture.
Cristina Kub says
This recipe is the very best apple pie recipe I ever made let alone the easiest. I am old so I have made many over the years. I am so happy I found this one and will always make this recipe for my family when they are in the mood for pie. Many thanks to Amy Duska for this recipe!
Katherine says
great recipe awesome thanks 😊❤️ so much
IH says
my crust was great but the apple slices a little under cooked. I think pre cooking the apple slices for 10 minutes before filling the pie is probably the better way to go.